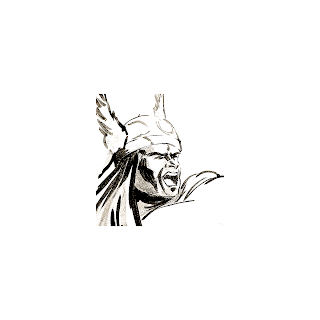
Thought I might colour the Thunder God in...
This blog is dedicated to How to Draw Superheroes. I'm just getting back into comic art and I figured I'll put my sketches here. Hope you like my work.
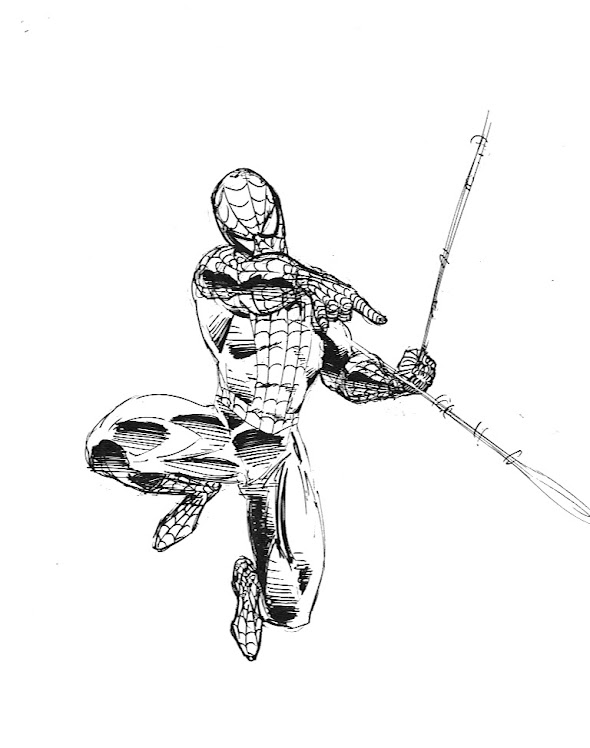
Spidey "slinging" by Andrew Von Dinklage

Tuesday, November 2, 2010
Sunday, October 31, 2010
The Mighty Thor
Just a quick interlude with a quick sketch of Thor for all you Thor fans. Thor is one of my favourites from way back.
This is a quick ink pen sketch, which is basically the same as I would do in pencil except here I have gone straight in with the ink pen and used a little white out where I had extra dark construction lines.
I don't use many construction lines these days (maybe I need to get back into the habit!), but it is always the best way to draw.
Drawing the Head: Basic Construction
I start with an oval and then put a centre line horizontally (this is the "eye-line") and vertically (the nose runs down this line)
You should be able to fit 5 "eye widths" across the head. The top of the ears is in line with the eyes. The bottom of the ears is in line with the mouth.
You can then build this construction into an actual sketch of the head by adding more detail. Below is an example done with brush and black ink.
You should be able to fit 5 "eye widths" across the head. The top of the ears is in line with the eyes. The bottom of the ears is in line with the mouth.
You can then build this construction into an actual sketch of the head by adding more detail. Below is an example done with brush and black ink.
Tuesday, October 26, 2010
Drawing the Head
Drawing the human head well has a lot to do with your construction. In the next few posts, I'm going to go over how to construct the head and facial features and how they play a big part in getting that head looking right. For now though, here's a picture of Thor.
Monday, October 25, 2010
Drawing Superheroes 4: Final Details
Now is where you can add shading, define exact lines, tidy up any construction lines and put in any other details that you need to. This should be very close to your finished pencil sketch. You'll have to excuse the very boring pose that we have our web-slinger in, but it was necessary to show the anatomical basics! (sorry Spidey!!!)
Notice how many of the lines are heavier now and there is extra shading to show various parts of the body. Also notice how not all of the muscules are drawn. I know it's a lot of fun drawing muscles on superheroes but sometimes you have to resist the temptation!
Notice how many of the lines are heavier now and there is extra shading to show various parts of the body. Also notice how not all of the muscules are drawn. I know it's a lot of fun drawing muscles on superheroes but sometimes you have to resist the temptation!
Drawing Superheroes 3: Costume details
This is the first part of the detail that has to go into your character. As you know every superhero has a specific costume which we know them by. Here is where you fill in those details -the pattern, boots, gloves, etc.
Okay so you see now that we are recognizing our neighbourhood friend.
Okay so you see now that we are recognizing our neighbourhood friend.
Drawing Superheroes 2: Lines
Lines:
The next thiing you do, when you are happy with your superhero's pose or stance, is to fill in the basic lines.
These are your anatomical lines that define the superhero's outline and musculature (big word). Even though the construction lines are close to what you want they are definitely not the exact lines of the human body. Notice by comparing the two sketches that many construction lines have slightly changed.
Drawing Superheroes 1: First Things First
We're going to start with the human figure first. I'll go over the different stages just to give you an idea of how I do it. There are various approaches so don't worry if you're used to doing it another way.
Construction
I've used the basic-shape construction in the sketch below. You use boxes, cylinders, spheres -all 3-dimensional shapes to construct your body. Think of it like the little art manikins you can get. Now, when drawing human anatomy there are a few basic rules of proportion. I'll mention one or two here: the elbow is at the same height of the navel; the chest is in line with the bottom of the shoulders; the wrist is in line with bottom of the groin. And each body section is measured against the length of the "head".
Usually I don't do construction lines this dark or this extensively, but I have here so you can see the lines and how they go.
Subscribe to:
Comments (Atom)


